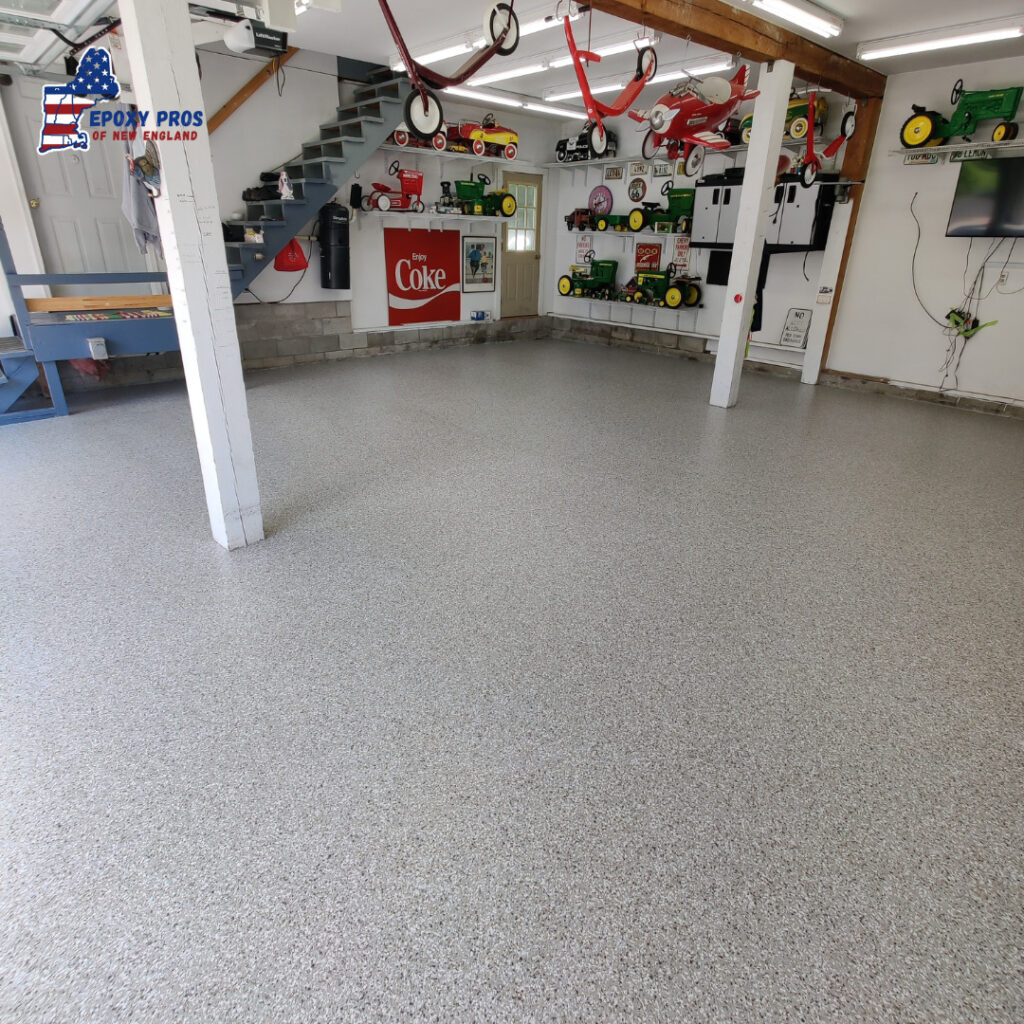
If you’re looking to give your garage flooring in Berwick Maine, a durable, stain-resistant surface, epoxy flooring may be the solution you’re looking for. Epoxy flooring is a popular option for garages, porches, and basements because it is strong, long-lasting, and easy to clean. In this article, we will provide you with step-by-step instructions on how to install epoxy flooring in your garage.
If you are ready to make your garage look better and work better for you and your family, please give us a call at +1-207-351-6220 for a free estimate. Or you can fill out our contact form, and we will get back to you as soon as possible.
Before You Start:
Before you start, make sure to gather all the necessary tools and equipment.
Here is what you’ll need:
-
Epoxy coating kit (make sure to choose a kit that is specifically designed for garage floors)
-
Paint rollers and brushes
-
Flat metal stirrer
-
Concrete patch and filler (if needed)
-
Degreaser or concrete cleaner
-
Pressure washer
-
Painter’s tape
-
Safety glasses and gloves
Step-by-Step Guide:

Step 1: Prepare the Surface
The first step in installing epoxy flooring is to prepare the surface. Start by removing any items from your garage and sweeping the floor thoroughly. Then, use a degreaser or concrete cleaner to remove any oil or grease stains from the surface. You can also use a pressure washer or diamond grinder (depending on the status of your floor) to ensure that the surface is clean and free from debris.
If there are any cracks or holes in the surface, use concrete patch and filler to fill them in. Allow the surface to dry completely before moving on to the next step.
Step 2: Apply the Primer
Once the surface is clean and dry, it’s time to apply the primer. Mix the primer according to the manufacturer’s instructions and use a paint roller to apply it to the surface. Make sure to apply the primer evenly, and allow it to dry completely before moving on to the next step.
Step 3: Mix the Epoxy
Next, mix the epoxy according to the manufacturer’s instructions. Make sure to use a flat metal stirrer to mix the epoxy, as a wooden mixing stick may add unwanted moisture to the mixture.
Step 4: Apply the Epoxy
Once the epoxy is mixed, it’s time to apply it to the surface. Use a paint roller to apply the epoxy in sections, starting at the farthest corner of the garage and working your way towards the door. Be strategic and have a plan before you start painting on the epoxy to avoid having to step on fresh paint as you go. Use a paintbrush to cut in around the edges and in tight spaces.
Step 5: Add the Flakes
If you want to add color and texture to your epoxy flooring, you can add decorative flakes to the surface. Sprinkle the flakes onto the wet epoxy, making sure to cover the surface evenly. Allow the epoxy to dry for 24 hours before moving on to the next step.
Step 6: Apply the Topcoat
Once the epoxy is dry, it’s time to apply the topcoat. Mix the topcoat according to the manufacturer’s instructions and use a paint roller to apply it to the surface. Make sure to apply the topcoat evenly, and allow it to dry completely before moving items back into the garage.


Installing epoxy flooring in your garage can be a great way to give your garage flooring a durable, stain-resistant surface.
By following these step-by-step instructions, you can install epoxy flooring in your garage quickly and easily. Remember to take the necessary safety precautions, and follow the manufacturer’s instructions carefully for best results.
In any case that your floor is in bad shape, you might want to consider a professional to check on the status of your floor, and get the floor coating installed by the ones who has the proper training, right tools and quality product to use.
If you are ready to make your garage look better and work better for you and your family, please give us a call at +1-207-351-6220 for a free estimate. Or you can fill out our contact form, and we will get back to you as soon as possible.
